
Arduino UNO will be used as ON / OFF off 4 relay controller by using Android device via Bluetooth network. Almost all devices have android platform has been installed bluetooth device.
Bluetooth communication system on Android we can use for "remote control" system so that is called controller. While Arduino as control signal processing and Relay as a controlled tool.
Hardware Requirement
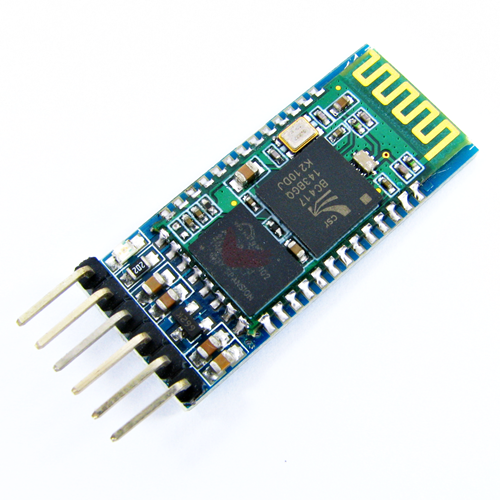
- Bluetooth HC-05 Module
- Relay Module with 4 Channel
- Arduino UNO
- Power supply +5 Volt
- Jumper
- Load (Lamp)

Block Diagram

Schematic

Arduino - Bluetooth HC-05 Module Wiring

Arduino - Relay Module Wiring

Source Code/Sketch
#include <SoftwareSerial.h>
SoftwareSerial mySerial(9, 8); // RX, TX
byte in_serial,str;
void setup(){
pinMode(2,OUTPUT);
pinMode(3,OUTPUT);
pinMode(4,OUTPUT);
pinMode(5,OUTPUT);
delay(1000);
mySerial.begin(9600);
}
void loop(){
str=mySerial.read();
switch(str){
case 'A': //RELAY 1 ON
digitalWrite(2,1);break;
case 'a': //RELAY 1 OFF
digitalWrite(2,0);break;
case 'B': //RELAY 2 ON
digitalWrite(3,1);break;
case 'b': //RELAY 2 OFF
digitalWrite(3,0);break;
case 'C': //RELAY 3 ON
digitalWrite(4,1);break;
case 'c': //RELAY 3 OFF
digitalWrite(4,0);break;
case 'D': //RELAY 4 ON
digitalWrite(5,1);break;
case 'd': //RELAY 4 OFF
digitalWrite(5,0);break;
}
}
How it Works
1. Connect the Arduino with Peripherals needed
2. Plug in the Power Source on the device
3. Compile and upload the script program above to your arduino
2. Plug in the Power Source on the device
3. Compile and upload the script program above to your arduino
4. Make sure the application "Bluetooth SPP Pro" you have installed, its able to install via Play store.
5. Open / run the application "Bluetooth SPP Pro" on Android that was installed earlier.
6. Once the HC-05 / Null device is detected, touch / click on it, so it appears

Click Pair Button

7. Enter the PIN for bluetooth pairing, you can fill it with "0000" or "1234".
Then click Done then Okay.
8. Select Connect to show the communication mode selection.


9. select Keyboard mode.


11. Then setting the Keyboard, click on the right corner menu and select Buttons set.
12. Rename the ClickMe button with the ON / OFF relay command as shown in the table below


14. When done, select the settings menu then select Button complete set to finish it.

15. Ok, let's run it. Press "Relay 1 ON" button
16. Note the relay 1 is on, the LED indicator on relay 1 is also on.
17. Try to turn off the relay 1. Press "Relay 1 OFF" button. Note the relay 1 OFF, indicator
LED 1 is off.
18. Please try for another relay.
19. If it will be used to control equipment such as AC lights, then we live make
Simple circuit between AC light, AC voltage source and relay.
Video Project III - 5. Control Relay 4 Channel using Android (Arduino Based)
Download required file
No comments:
Post a Comment