
The Arduino UNO reads the temperature and humidity with the DHT11 sensor and the results are displayed on a 2x16 LCD as well as computer data and graphics. The type of sensor used is DHT11 with a temperature reading range 0 ° C - 50 ° C and Humidity 20 - 80%.
In the computer there is a program to display the results of sensor readings in the form of tables and graphs. The program on the computer created with Delphi (Delphi 7) and the data is sent serially using the Arduino USB connector. LCD is used to display the process so it is easier to monitor its work or not.
Hardware Requirement
- Arduino Uno Board
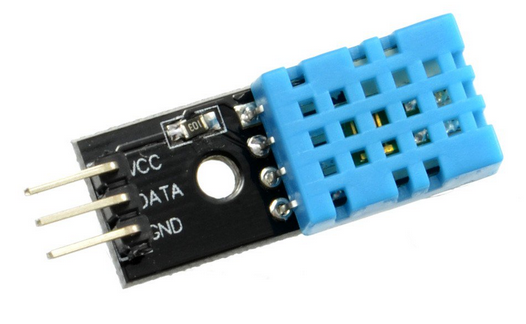
- DHT11 Temperature and Humidity Sensor Module
- LCD 16*2
- PC / Laptop with delphi Progam installed
- Power supply +5 Volt
- Jumper
Block Diagram

Schematic

Arduino - LCD Wiring

Arduino - DHT11 Wiring

Source Code/Sketch
#include <LiquidCrystal.h>
#include "DHT.h"
#define DHTPIN 8
#define DHTTYPE DHT11
LiquidCrystal lcd(2, 3, 4, 5, 6, 7);
int adc0;
DHT dht(DHTPIN, DHTTYPE);
int h,t;
void setup(){
Serial.begin(9600);
lcd.begin(16, 2);
lcd.print("Monitoring Suhu");
lcd.setCursor(0, 1);
lcd.print(" & Kelembababan");
delay(2000);
lcd.clear();
lcd.print(" DHTduino ");
lcd.setCursor(0, 1);
lcd.print(" T= C H= %");
dht.begin();
}
void loop(){
h = dht.readHumidity();
t = dht.readTemperature();
lcd.setCursor(4,1);
lcd.print(t);
lcd.setCursor(12,1);
lcd.print(h);
t=29;
h=78;
Serial.print(t);
Serial.print('A');
Serial.print(h);
Serial.print("B#");
delay(1000);
}
How it Works
1. Connect the Arduino with Peripherals needed
2. Plug in the Power Source on the device
3. Compile and upload the script program above to your arduino
4. First initial LCD display

Temperature & Humidity
Monitoring
5. LCD will display the result from sensor measurements

6. Open the App (You can download it on the download link)

7. There are some toolbar with each different function

8. Setup your port number depend by port which connected to the arduino

9. Click "OK"
10. Clcik on "Start" button (play button assumstion)
11. Monitoring the result.
Video for Project II - 4. Temperature and Humidity Monitoring using DHT11 Sensor (Arduino Based)
Required file

No comments:
Post a Comment